Maybe you’re dusting off your tool belt as you read this, getting ready to tackle a DIY paver installation project. That new patio will be great!
So, not to get too personal, but how big is your tool belt? You’ll need a lot of tools.
If you’re attempting DIY paver installation you probably have assorted hand tools hanging around the garage that you’ll need for the job — a long tape measure, a finishing trowel, a putty knife, screwdrivers, a hammer, a utility knife, a caulking gun, knee pads, a rake, shovels, a push broom, a pry bar.
But that’s just the beginning. You’ll need a bunch of specific paver installation tools to get this job done right.
Let’s take a look:
First, How to Install Pavers
Watch any YouTube video or check in on a helpful how-to website and they’ll walk you through the DIY paver installation steps:
1. Choose and measure your worksite
2. Gauge your slope
3. Excavate your paving area
4. Build your paver base
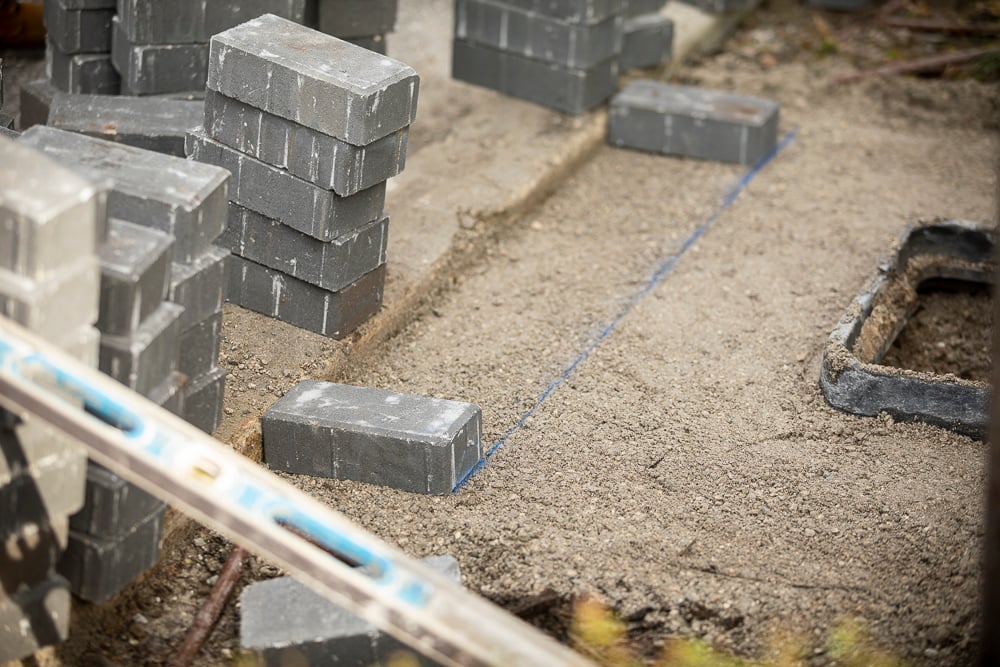
5. Create a sand bed on top of your base
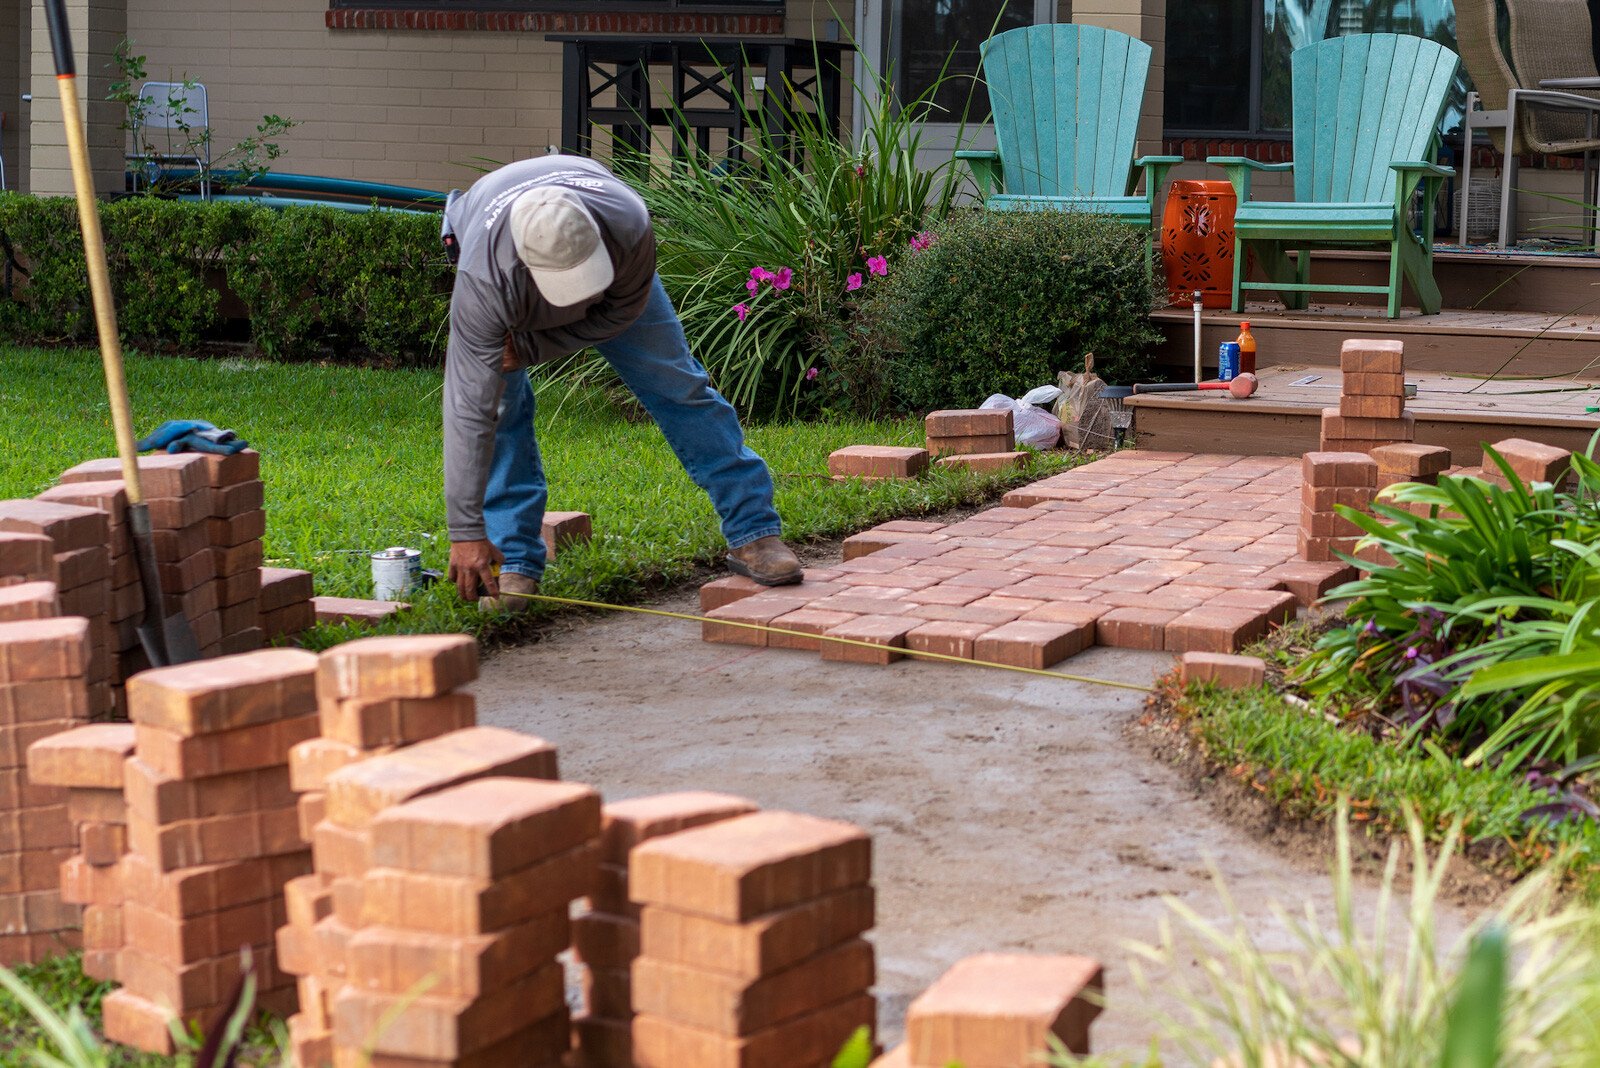
6. Lay your pavers, cutting pavers when necessary
7. Add your edge restraints
8. Tamp down your pavers
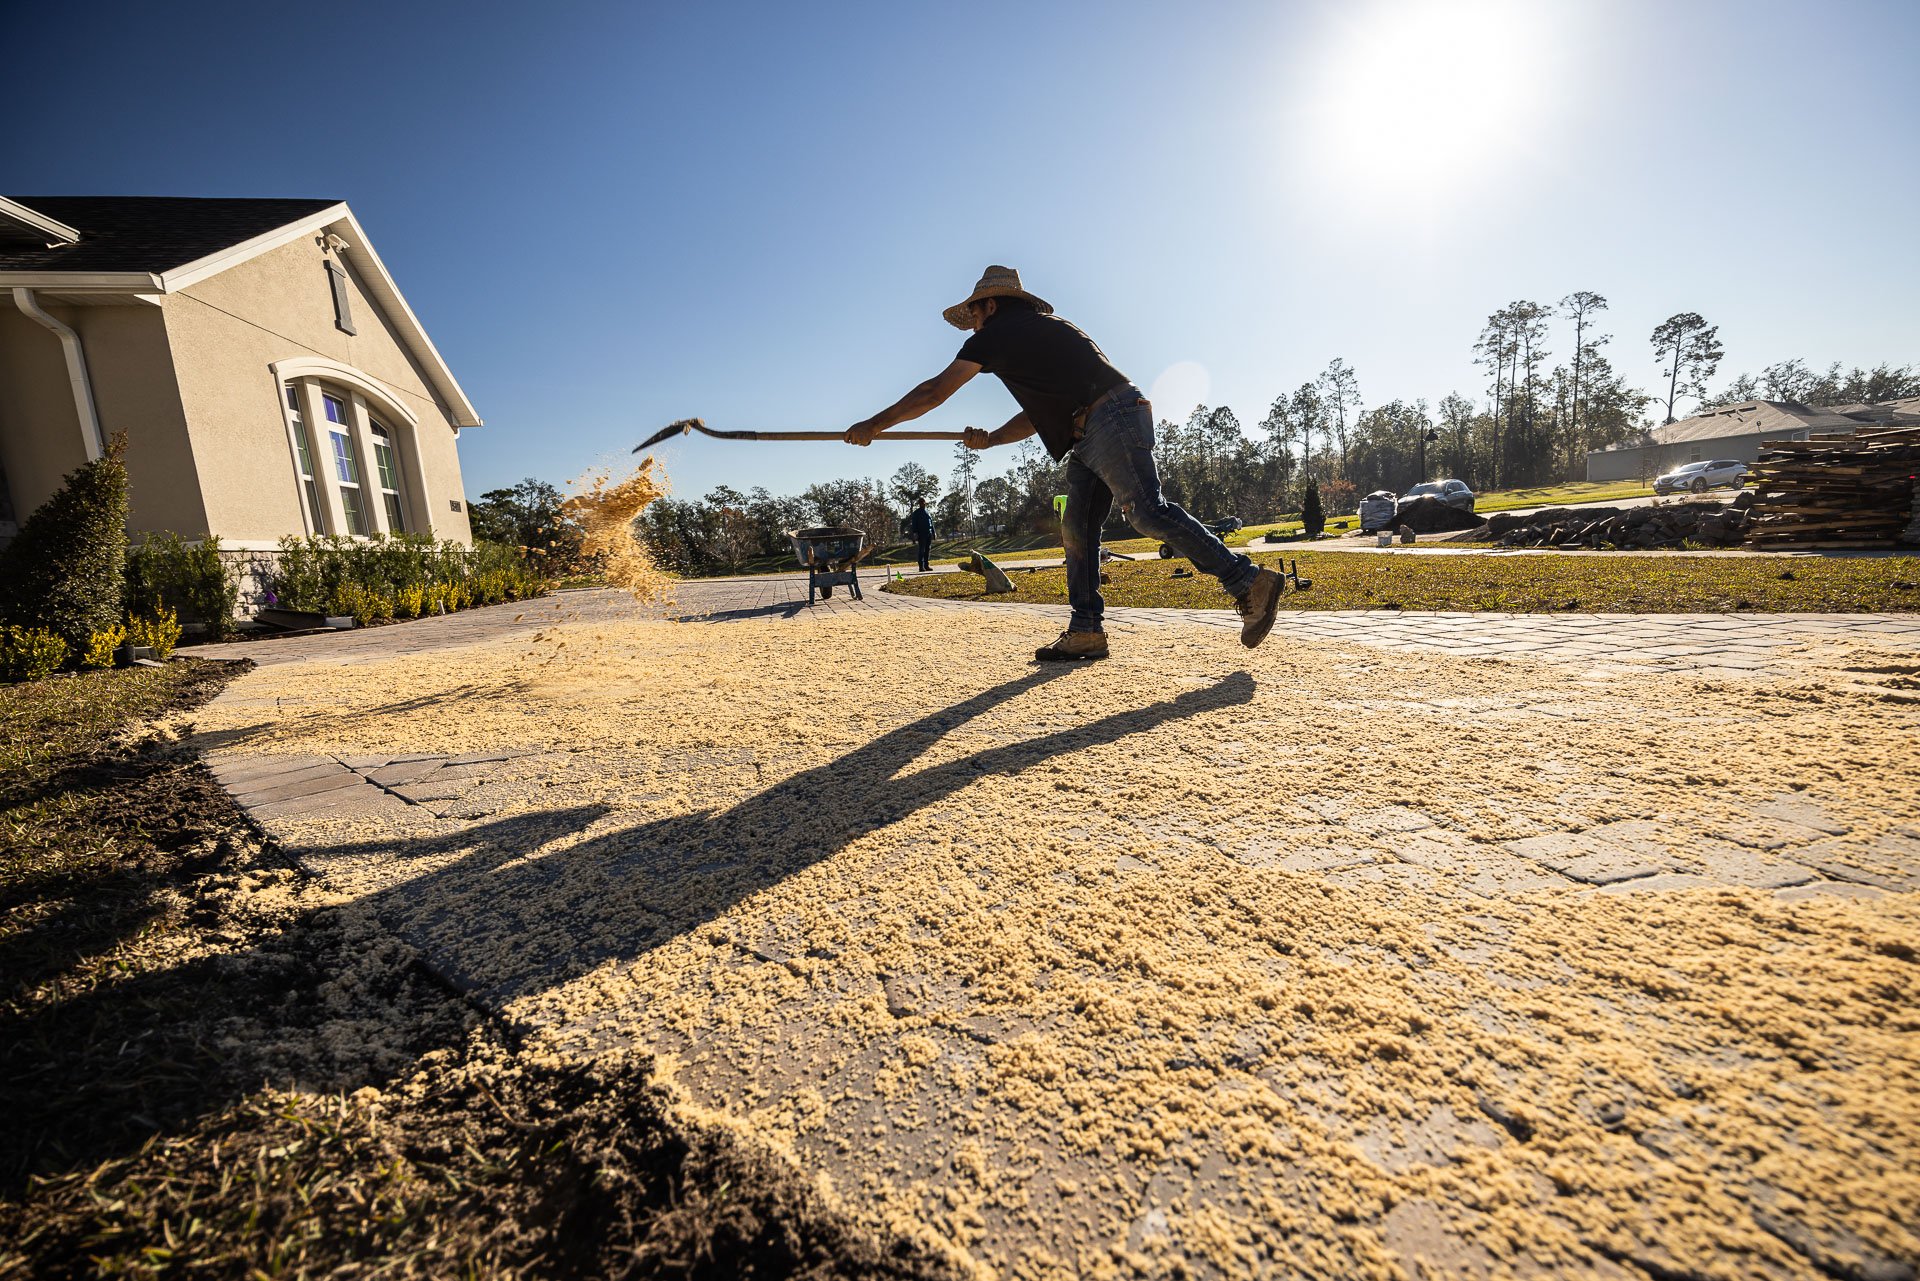
9. Fill the area between your pavers with polymeric sand
10. Seal your pavers
So, that was obviously a really condensed version of DIY paver installation.
There’s quite a bit of work involved, from digging and measuring to tamping and leveling.
What paver installation tools and materials should you have ready?
Paver Base
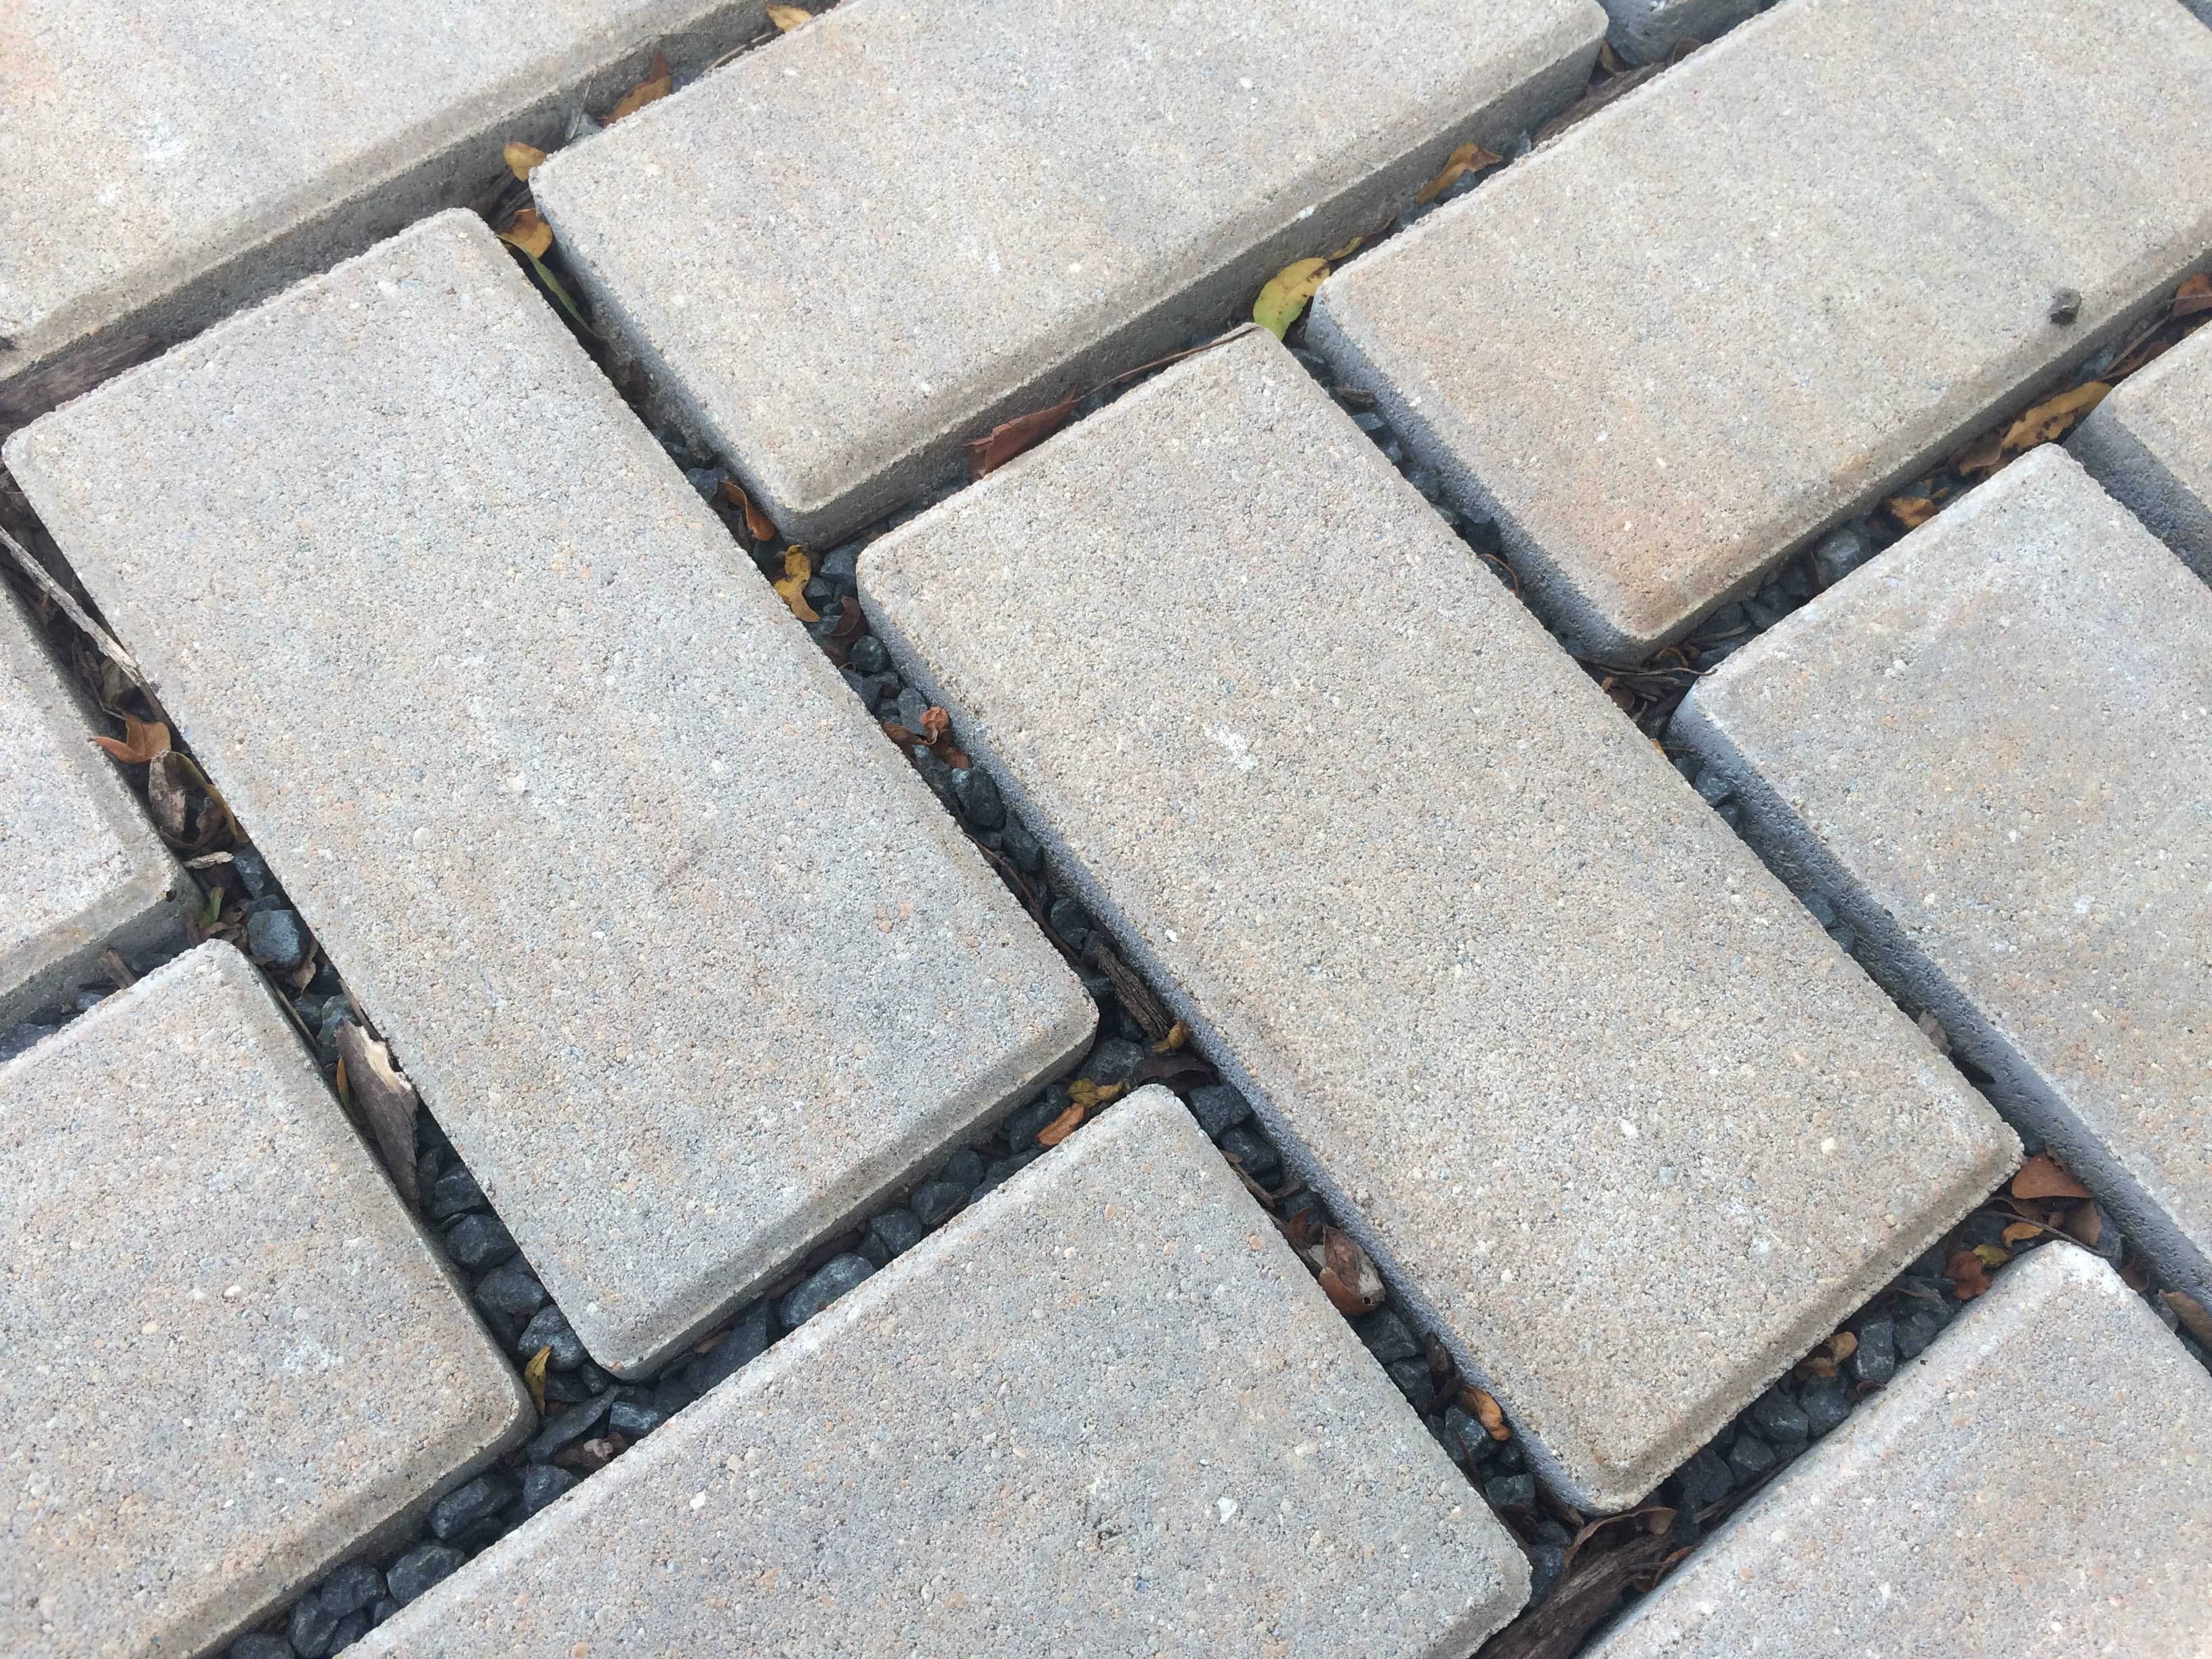
The base beneath your pavers is a crucial element of quality paver patio installation. Its coarse texture allows for drainage and helps lock the pavers into place.
Polymeric Sand
Polymeric sand, or jointing sand, is a fine sand bound with polymers used to fill the spaces between pavers. Sweep it into the joints and then spray it with water to activate the polymers that cause the sand to harden.
Paver Edging
The right edging is key. Edging helps keep the pavers snugly in place and prevents them from shifting — a common problem with DIY paver installation.
Here in Central Florida, it’s important to use concrete molded edging, not plastic edging with spikes. The soil is too sandy and soft here for that.
You’ll end up with paver edging problems. Bonus: the concrete edge looks much nicer.

Leveling Tools
You would think your paver walkway, driveway, or patio needs to be perfectly level, but that’s not exactly true. Your paver project should pitch to the side a bit, so water can drain.
The area should look and seem flat and level, but will be installed with just enough tilt for proper drainage.
Your paver installation tools should include a string line, a string line level, and a standard torpedo level set.
Paver Mallet
Have a paver mallet or dead blow hammer handy to ensure the pavers are solidly in place.
Masonry Chisel
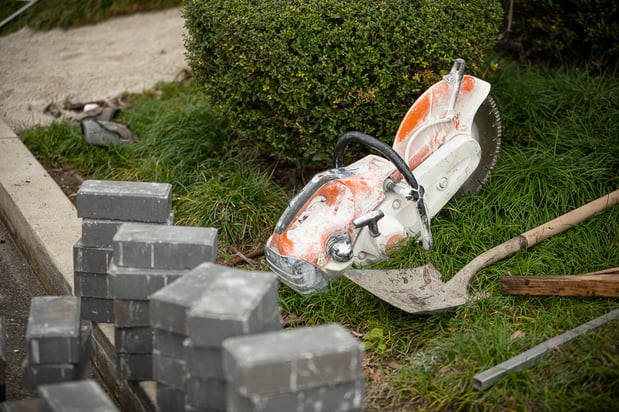
You’ll need this in case you need to cut pavers. A paver splitter makes this task even easier.
Compacting Tools
A hand tamper works for smaller paver jobs to help make sure your paver base is compact and solid, but pros recommend renting a power compactor to really ensure your base is solid.
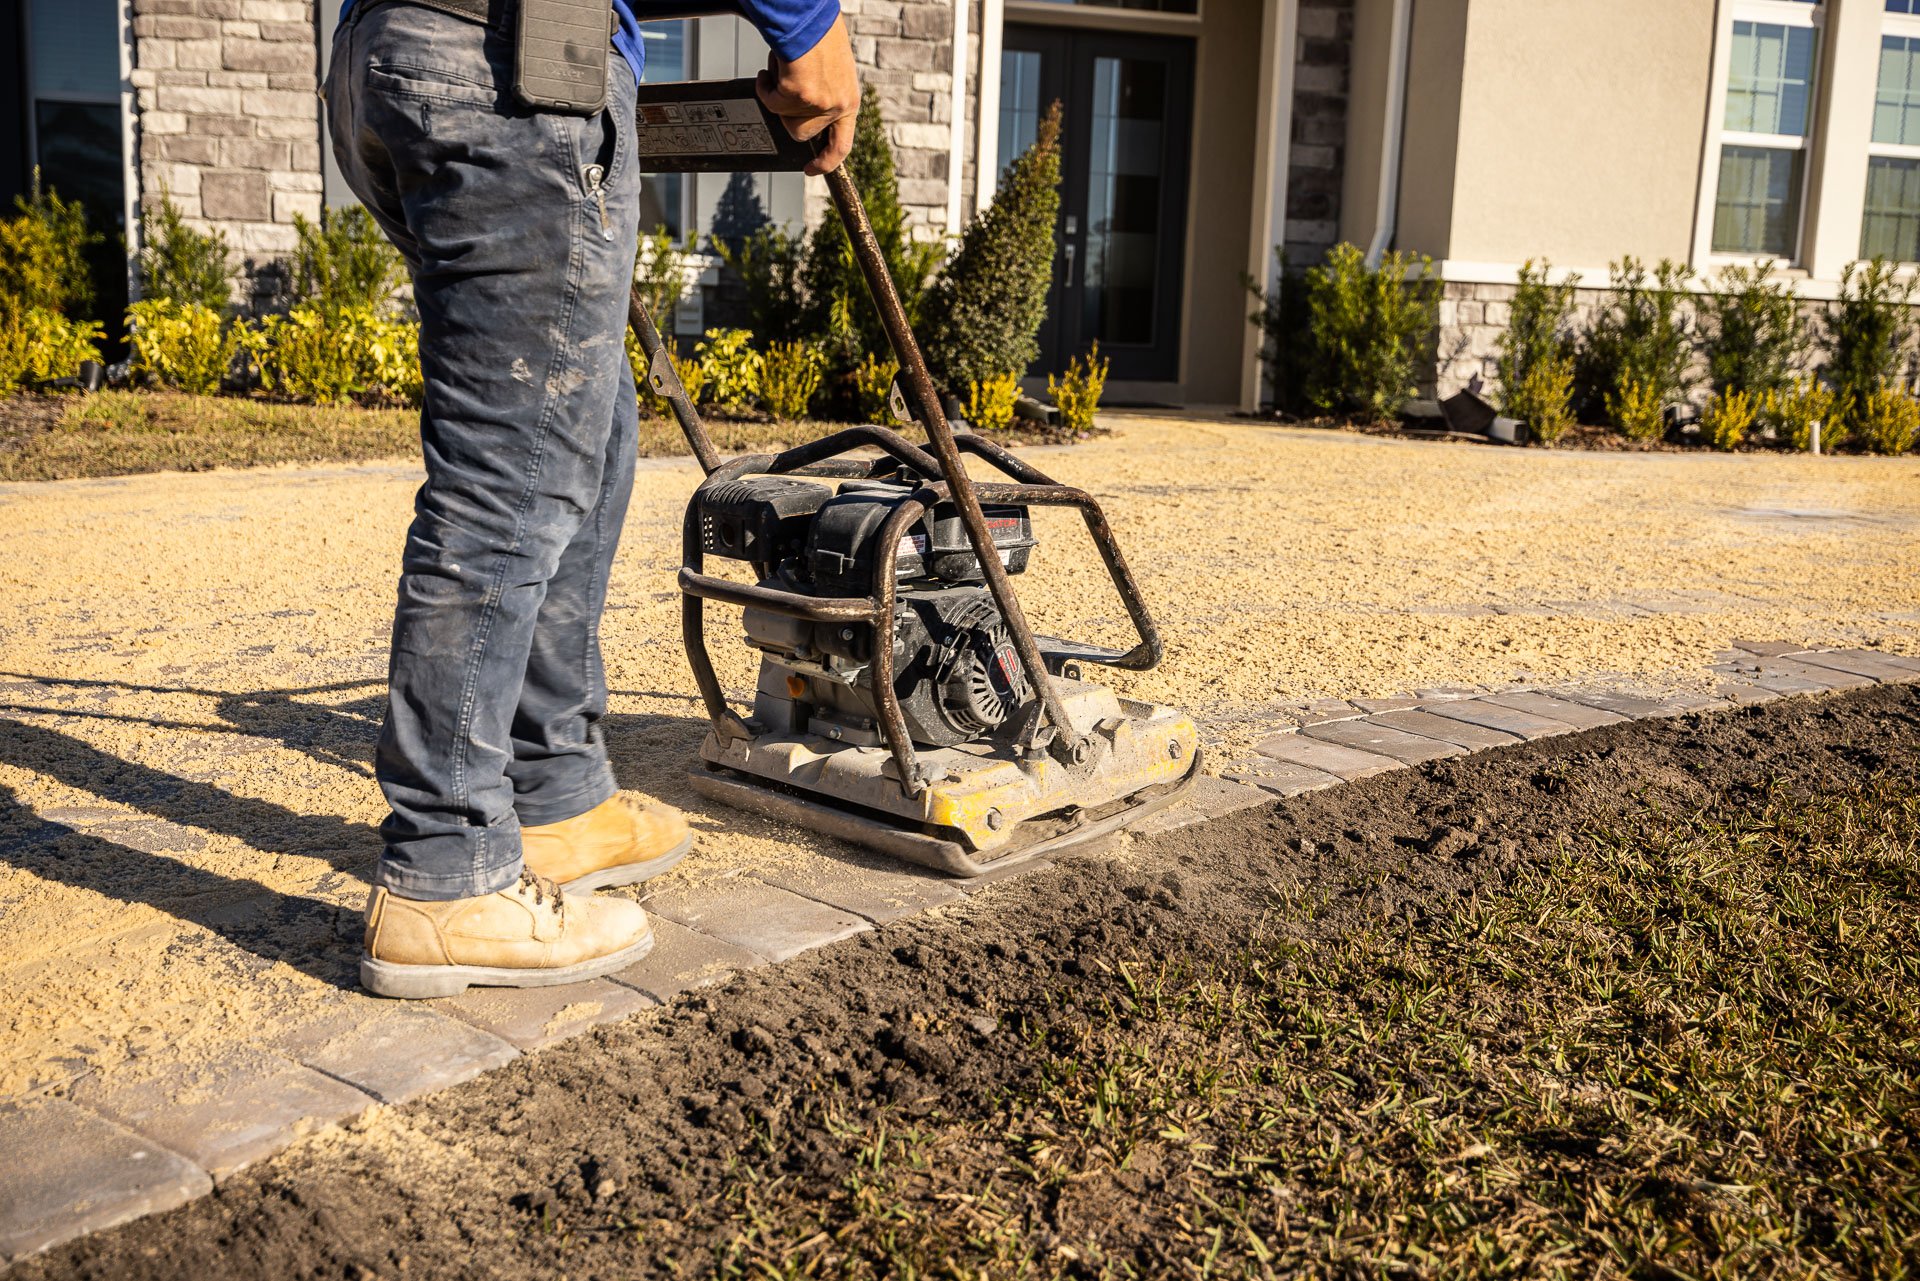
A secure base keeps your pavers from sinking and shifting over time.
Screed Board
Weird name, essential paver installation tool for making sure your sand base is even as you’re smoothing it out.
Paver Sealer
A lot of those DIY paver installation videos don’t say anything about sealing your new paver project. Why not? No idea. It’s pretty important.
Paver sealer is a protective coating that helps keep pavers from fading and protects them from stains, the weather, and invaders like weeds and ants. It also locks in the sand between each paver for a tight fit, keeping your pavers in place.
Your pavers will need a new coat of sealer every three to four years.
What About Conduit?
Not on your list of paver installation tools? That’s not surprising. Conduit is a definite pro move.
Landscaping projects are always evolving. You’re planning a paver project now, but later on you might want to add landscape lighting or upgrade your irrigation.
At Ground Source, we install PVC conduit under your paver driveway or patio to make adding irrigation or landscape lighting easier later. That way, we won’t have to tear up all the pavers to do work underneath them.
Are You Sure About DIY Paver Installation?
That’s a lot of paver installation tools. And a lot of work.
Why not hire professional paver delivery and installation?
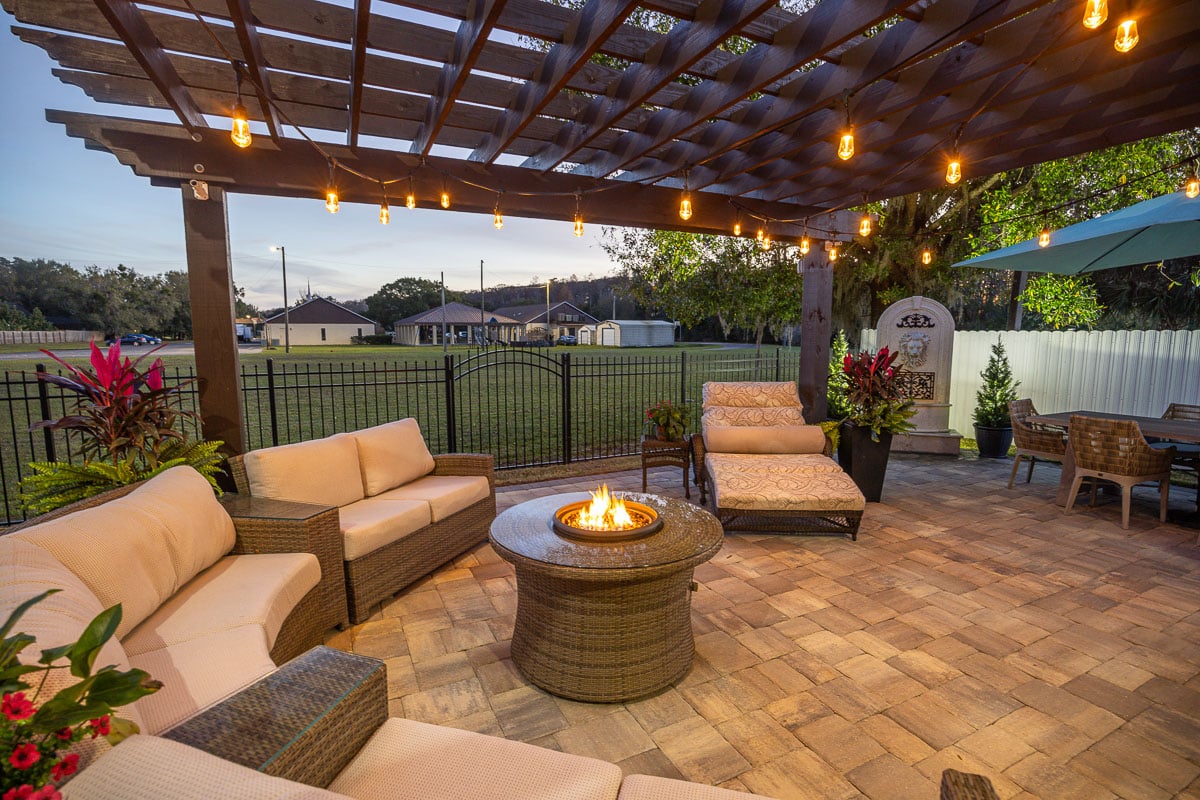
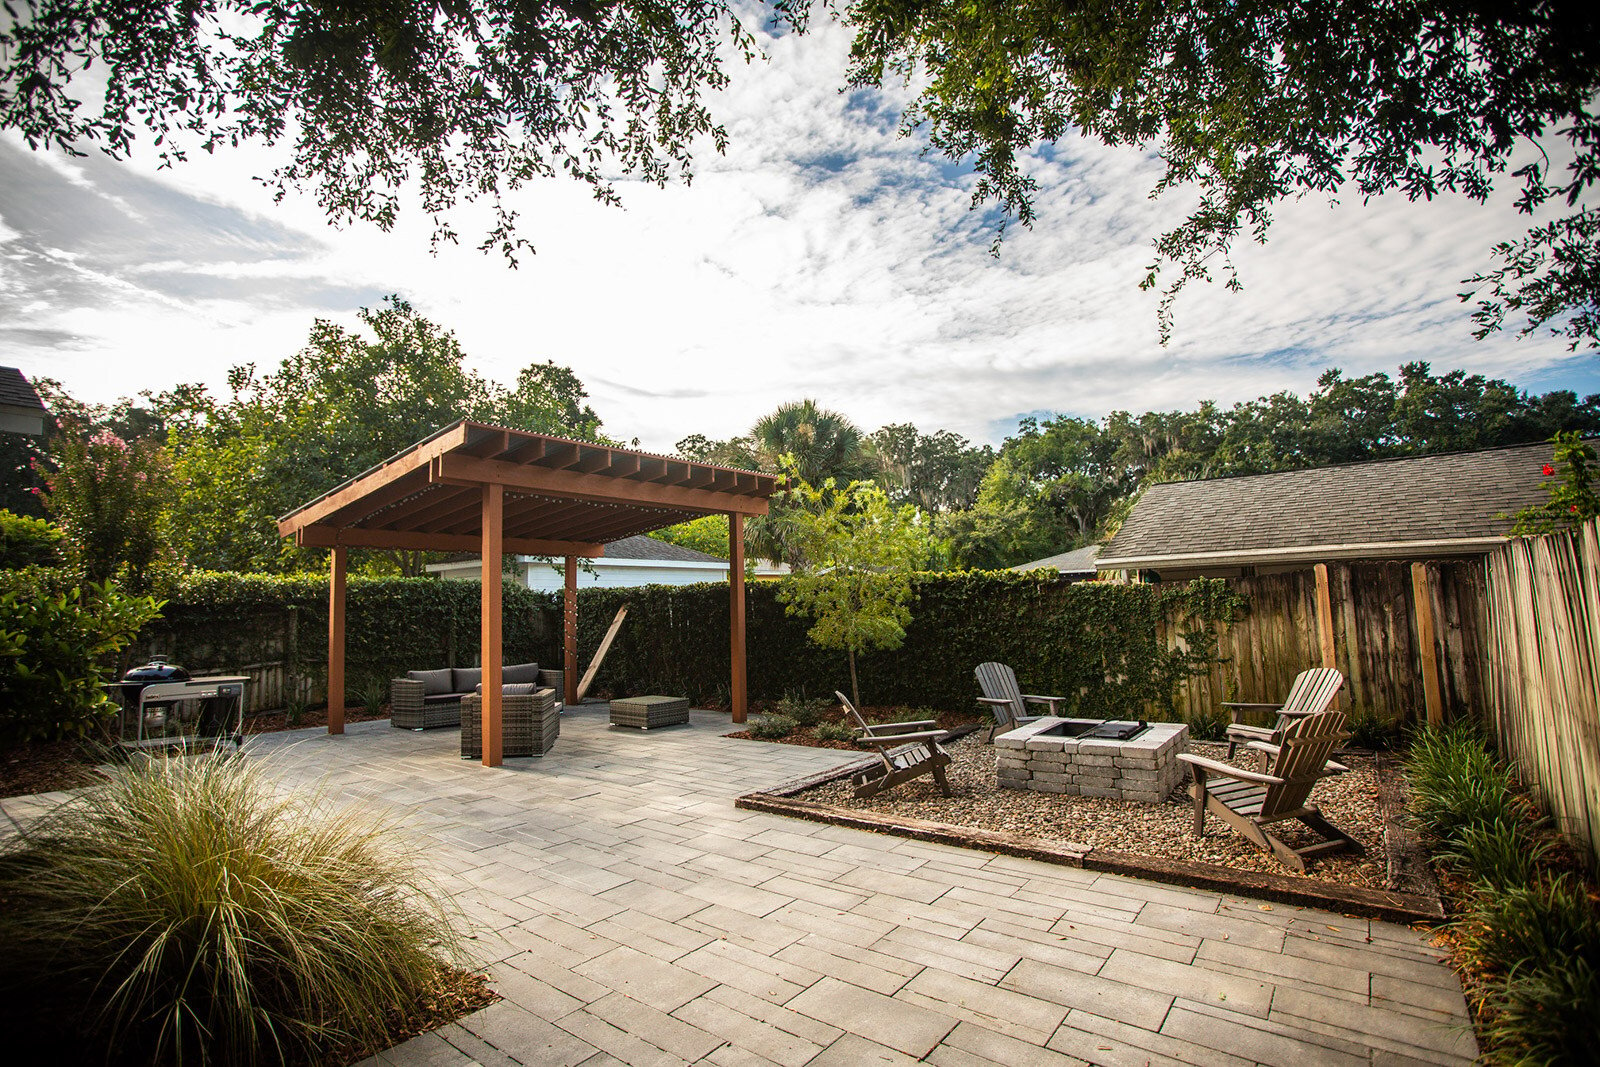
Whether you’re planning a new paver walkway, patio or driveway, a landscape designer can bring some real creativity to your project.
Designers have great input about everything from size and shape to paver patterns, colors and borders.
Lots of installation details are important to make sure your paver project doesn’t just look great, but works great, including preventing drainage problems.
Without proper slope, you end up with erosion, foundation damage, or a wet basement.
If you live in a newer Orlando neighborhood, chances are you’ll need to combine some kind of yard drainage with that slope. Drainage here in Orlando is a continuing problem as the city grows.
Plus, a paver installation project is hard work and makes a mess.
At Ground Source, we make it easy, from brainstorming ideas at your kitchen table to showing you samples of pavers to walking you through the project and keeping you informed.
Our paver delivery and installation bid includes:
- Removal of your old concrete and soil/sod excavation (including hauling costs)
- Cost and installation of crushed concrete (called “fines”)The pavers specified in your bid
- Paver sand for gap filling
- Clean-up and disposing of excess material
- Hand-troweled concrete edge restraint
- Rinsing off of paver dust from plants and buildings
- Stacking of excess pavers in a specified location
Not included: sealing pavers; pressure-washing of nearby surfaces; irrigation modifications; sod repair.
How to Install Pavers? Call Ground Source
A paver project is a big deal. It can change the look of your house and the way you use and love your outdoor space.
You don’t want to be too exhausted from your DIY paver installation to enjoy the finished masterpiece, right?
Let us do the work. Give that tool belt a rest.
We’re paver experts, but our skills don’t stop there. We’re with you every step of the way as you plan your perfect outdoor space.
Sod, irrigation, landscape design: Let us transform your yard from an embarrassing eyesore to a place you can’t wait to come home to.
Are you ready to enjoy the vibrant, impressive yard you've always wanted? Request a quote today! We’ll help you review your options and then transform your property.